

Published: Dec 2, 2024
7 Simple Steps to Create a Digital Product That Sells
7 Simple Steps to Create a Digital Product That Sells
I’ve been in the digital product game for years, and let me tell you, it’s been quite the ride! From sleepless nights coding to the thrill of that first sale, I’ve seen it all. Ready to dive into the world of digital products? Let’s get down and dirty with the nitty-gritty details!
TLDR: What exactly is a digital product, and why should I create one?
1️⃣ What is a digital product?
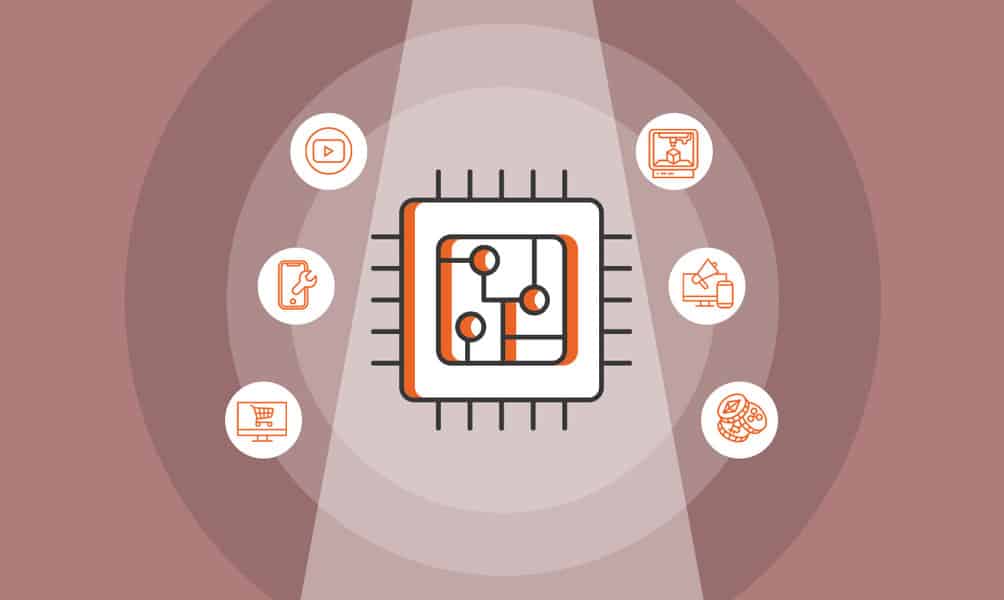
A digital product is any item you can sell online that doesn’t have a physical form. This includes ebooks, courses, software, templates, and more. They’re easy to distribute and can generate passive income.
2️⃣ Why are digital products so profitable?
Digital products have low overhead costs and can be sold infinitely without restocking. Once created, they can generate income 24/7 with minimal ongoing effort, making them a lucrative business model.
3️⃣ What skills do I need to create a digital product?
The skills needed depend on the type of product. Generally, you’ll need expertise in your niche, basic digital literacy, and some marketing know-how. Don’t worry, though – many of these skills can be learned as you go!
Table of Contents
- Brainstorm Your Digital Product Idea
- Research Your Target Market
- Plan Your Product Content
- Choose Your Creation Tools
- Create Your Digital Product
- Set Up Your Sales Platform
- Launch and Market Your Product
Brainstorm Your Digital Product Idea
Let’s kick things off with a brainstorming session! Coming up with the perfect digital product idea can be both exciting and overwhelming. I’ve been there, staring at a blank page, wondering where to start. But don’t worry, I’ll walk you through some strategies that have worked for me and countless other digital entrepreneurs.
Mind Mapping Your Expertise
First things first, grab a piece of paper or open up a digital mind mapping tool. Start with your areas of expertise in the center. What are you passionate about? What skills have you honed over the years?
For me, it was digital marketing. I jotted down everything from SEO to social media strategies. Don’t hold back – even seemingly unrelated skills might spark a unique product idea.
Popular Digital Product Categories
Let’s look at some popular categories to get those creative juices flowing:
-
- How-to guides
- Niche cookbooks
- Industry reports
-
- Video tutorials
- Interactive workshops
- Certification programs
-
- Productivity tools
- Industry-specific solutions
- Mobile games
-
- Stock photos
- Graphic templates
- 3D models
-
- Podcasts
- Meditation guides
- Sound effects libraries

Identifying Market Gaps
Now, let’s get strategic. The key to a successful digital product is finding a gap in the market. Here’s how I approach it:
Reddit Deep Dive: I spend hours scrolling through subreddits related to my niche. What questions keep popping up? What frustrations do people express? These are goldmines for product ideas.
Amazon Book Reviews: Look at books in your niche. What are readers saying is missing? What do they wish the book covered more?
Google Trends This tool is a game-changer. I use it to spot rising interests in my niche. For example, I noticed a spike in interest for “work from home productivity” during the pandemic, which led to a successful e-book launch.
Validate Your Ideas
Once you’ve got a list of potential ideas, it’s time to validate them. Here’s my quick validation process:
Survey Monkey Mini-Survey: Create a quick survey and share it with your target audience. Ask if they’d be interested in your product idea and how much they’d be willing to pay.
Facebook Ad Test: Run a small ad campaign directing people to a landing page for your product idea. If people sign up for updates, you know there’s interest.
Kickstarter Exploration: Browse similar projects in your niche. How much funding did they receive? This can give you an idea of market demand.
Narrow Down Your Options
After validation, you might still have several promising ideas. To narrow it down, ask yourself:
- Which idea am I most passionate about?
- What aligns best with my skills and resources?
- Which has the most potential for long-term growth?
Remember, your first digital product doesn’t have to be perfect. My first e-book was far from a bestseller, but it taught me valuable lessons that led to more successful products down the line.
By following these steps and trusting your instincts, you’ll be well on your way to creating a digital product that not only sells but also brings value to your audience. Next up, we’ll dive into researching your target market to ensure your product hits the mark!
Research Your Target Market
Alright, let’s dive into the nitty-gritty of market research! This step is crucial - it’s where you’ll figure out who’s gonna buy your digital product and why they need it. Trust me, I’ve learned the hard way that skipping this step can lead to a lot of wasted time and effort.
Demographics
Who Are Your Potential Customers?
First things first, we need to paint a picture of your ideal customer. Here’s how I break it down:
- Age range
- Gender
- Location
- Income level
- Education
- Occupation
For example, when I created my first online course about digital marketing, I zeroed in on small business owners aged 35-50 who were struggling to keep up with the digital landscape. Knowing this helped me tailor my content and marketing strategy.
Psychographics
What Makes Them Tick?
Now, let’s dig deeper into the minds of your target audience:
- What are their interests?
- What challenges do they face?
- What are their values and beliefs?
- How do they prefer to consume content?
I remember chatting with a friend who runs a yoga studio in Austin, Texas. She mentioned how her clients were always asking for ways to practice at home. This insight led her to create a successful series of downloadable yoga routines.
Tools for Market Research
Here are some tools I swear by for gathering this info:
Google Analytics
 If you have a website, this is gold. It’ll show you who’s visiting your site, what they’re interested in, and how they behave.
Facebook Audience Insights
 This tool is fantastic for understanding the demographics and interests of your Facebook followers.
SEMrush
 Great for keyword research and understanding what your potential customers are searching for online.
Engage Directly with Your Audience
Don’t just rely on tools - talk to real people! Here’s what I do:
Twitter Polls I love using these for quick, informal surveys. They’re great for getting a pulse on what your audience is thinking.
Reddit AMAs
 Host an “Ask Me Anything” session in a relevant subreddit. The questions people ask can give you valuable insights into their needs and pain points.
Quora
 Spend some time browsing questions in your niche. What are people curious about? What problems are they trying to solve?
Analyze Your Competition
Don’t forget to check out what your competitors are doing:
Similar Web This tool gives you a peek into your competitors’ traffic sources and audience demographics.
Amazon Best Sellers
 If you’re thinking of creating an ebook, check out the best sellers in your category. Read the reviews to see what readers loved and what they felt was missing.
Create Buyer Personas
Now, take all this info and create detailed buyer personas. These are fictional representations of your ideal customers. Give them names, backstories, and specific characteristics.
For instance, one of my personas for my digital marketing course was “Small Business Sarah”:
- 42-year-old owner of a local bakery
- Struggles with social media marketing
- Wants to increase online orders but has a limited budget
- Prefers video content and step-by-step guides
Having Sarah in mind helped me create content that really spoke to her needs and preferences.
Remember, thorough market research is the foundation of a successful digital product. It might seem like a lot of work upfront, but trust me, it’ll save you tons of time and headaches down the road. Plus, it’s kinda fun playing detective and really getting to know your audience!
Next up, we’ll take all this juicy info and use it to plan out your product content. Get ready to put those creative gears in motion!
Plan Your Product Content
Alright, let’s roll up our sleeves and dive into planning your digital product content! This is where the rubber meets the road, and trust me, a solid plan can make or break your product. I’ve learned this the hard way, so I’m gonna share some insider tips to help you nail it.
Start with a Brain Dump
First things first, grab a notebook or open up a fresh Google Doc. We’re gonna do a good old-fashioned brain dump. Write down everything you want to include in your product. Don’t worry about organization yet – just get it all out there.
When I created my first SEO course, I spent a whole weekend just jotting down ideas. From keyword research to link building strategies, I made sure no stone was left unturned.
Create an Outline
Now, let’s bring some order to the chaos. Take all those ideas and start grouping them into main topics or modules. Here’s a basic structure I like to use:
- Introduction
- Core Concepts (3-5 main topics)
- Practical Applications
- Advanced Strategies
- Conclusion and Next Steps
For example, in my SEO course, the core concepts were:
- On-page optimization
- Off-page strategies
- Technical SEO
- Content creation for SEO
Use the AIDA Model
When planning your content, keep the AIDA model in mind:
- Attention: Hook your audience from the start
- Interest: Build curiosity about your topic
- Desire: Show how your product solves their problems
- Action: Motivate them to apply what they’ve learned
I always start my courses with a real-life success story to grab attention. For instance, I shared how a local pizza joint in Brooklyn tripled their online orders using simple SEO techniques.
Plan Your Delivery Format
Decide how you’ll present your content. Will it be:
- Video tutorials
- Written guides
- Podcasts
- Interactive webinars
- A mix of these
I’ve found that a mix works best for most people. In my courses, I use video for demonstrations, written guides for step-by-step instructions, and interactive quizzes to reinforce learning.
Create a Content Calendar
Map out your content creation schedule. Be realistic about how long each section will take to create. Here’s a simple template I use:
| Week | Topic | Format | Estimated Time | Status |
|---|---|---|---|---|
| 1 | Intro to SEO | Video + PDF | 5 hours | Not Started |
| 2 | Keyword Research | Video + Interactive Tool | 8 hours | In Progress |
Plan for Engagement
Think about how you’ll keep your audience engaged throughout your product. Some ideas:
- Case studies Real-world examples always hit home
- Exercises: Give them a chance to apply what they’ve learned
- Quizzes Test their knowledge and reinforce key points
- Discussion forums Create a space for community interaction
In my SEO course, I include a “Website Audit Challenge” where students apply their new skills to analyze a real website.
Consider Bonus Content
Plan some extra goodies to add value to your product:
- Templates
- Checklists
- Resource lists
- Access to a private community
I always include an “SEO Toolkit” with my favorite tools and a monthly live Q&A session for course members.
Get Feedback Early
Don’t wait until you’ve created everything to get feedback. Share your outline with a few trusted friends or colleagues in your target audience. Their input can be invaluable.
I once completely restructured a module based on feedback from a beta tester. It was a pain at the time, but it made the final product so much stronger.
Plan for Updates
Digital products often need updating to stay relevant. Leave room in your plan for future updates and additions. I set aside time every quarter to review and refresh my course content.
Remember, planning your product content is an iterative process. Don’t be afraid to revise and refine as you go along. The goal is to create something that truly delivers value to your audience.
Next up, we’ll look at choosing the right tools to bring your digital product to life. Get ready to geek out on some cool tech!
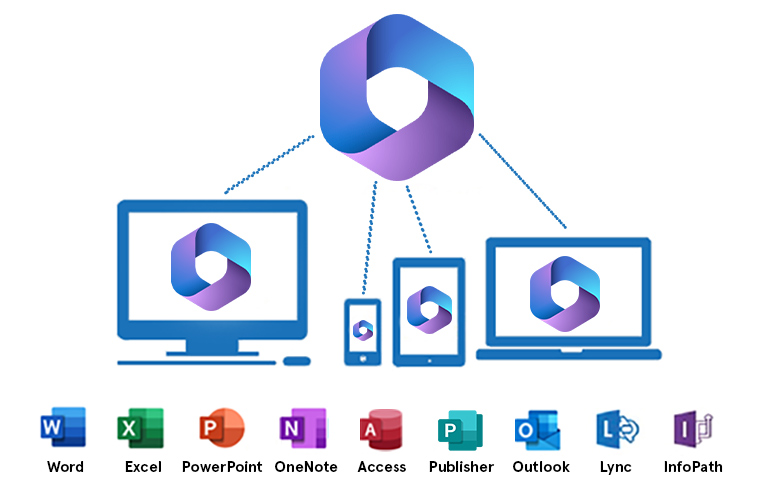
Choose Your Creation Tools
Alright, let’s talk about the nitty-gritty of bringing your digital product to life! Picking the right tools can make or break your creation process. I’ve been through the wringer with this stuff, so I’ll share what’s worked for me and what’s popular in the industry right now.
Content Creation Software
For Written Content
-
- The old standby. Great for long-form writing and has solid collaboration features.
- I used Word to write my first ebook on digital marketing strategies. Its outline feature was a lifesaver for organizing chapters.
-
- Free, cloud-based, and perfect for collaboration.
- When I co-authored a guide on social media marketing with a colleague in San Francisco, Google Docs made it easy to work together in real-time.
-
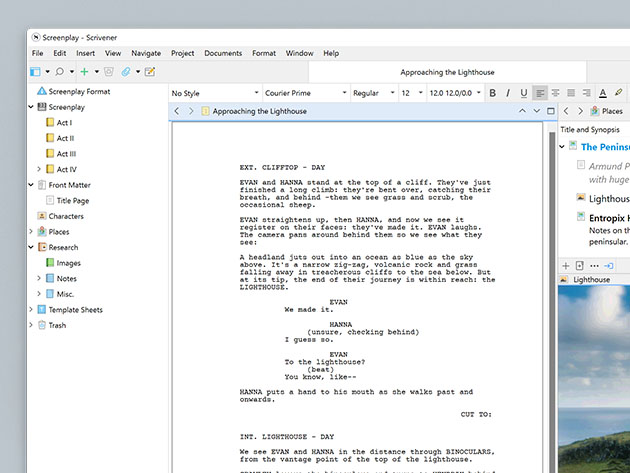
- Ideal for long, complex writing projects.
- A friend of mine swears by this for creating her online course materials. The corkboard feature helps her visualize the overall structure.
For Visual Content
-
- User-friendly design tool with tons of templates.
- I use Canva for creating eye-catching infographics and social media assets to promote my digital products.
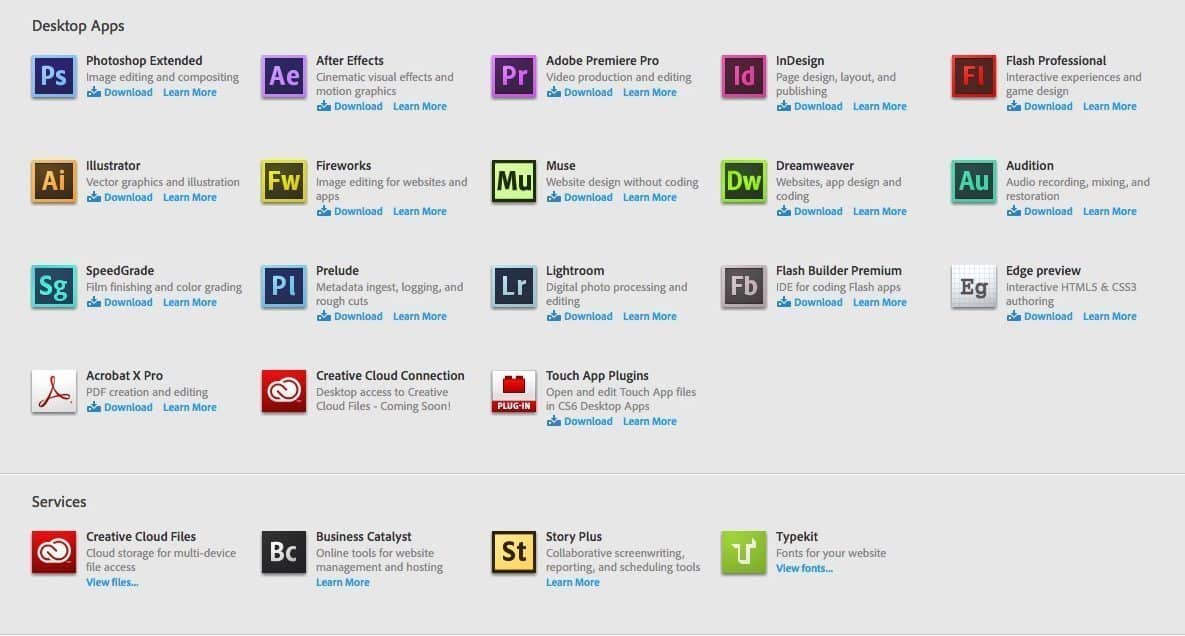
-
- Professional-grade tools for serious designers.
- When I needed high-quality graphics for my premium course, I hired a freelancer who used Adobe Illustrator to create custom illustrations.
-
- Great for UI/UX design and prototyping.
- A tech startup I consulted for used Figma to design their app’s user interface before development.
Video Production Tools
-
- Perfect for screen recordings and video tutorials.
- I use Camtasia for all my software demonstration videos. The ability to add callouts and zoom effects makes explanations crystal clear.
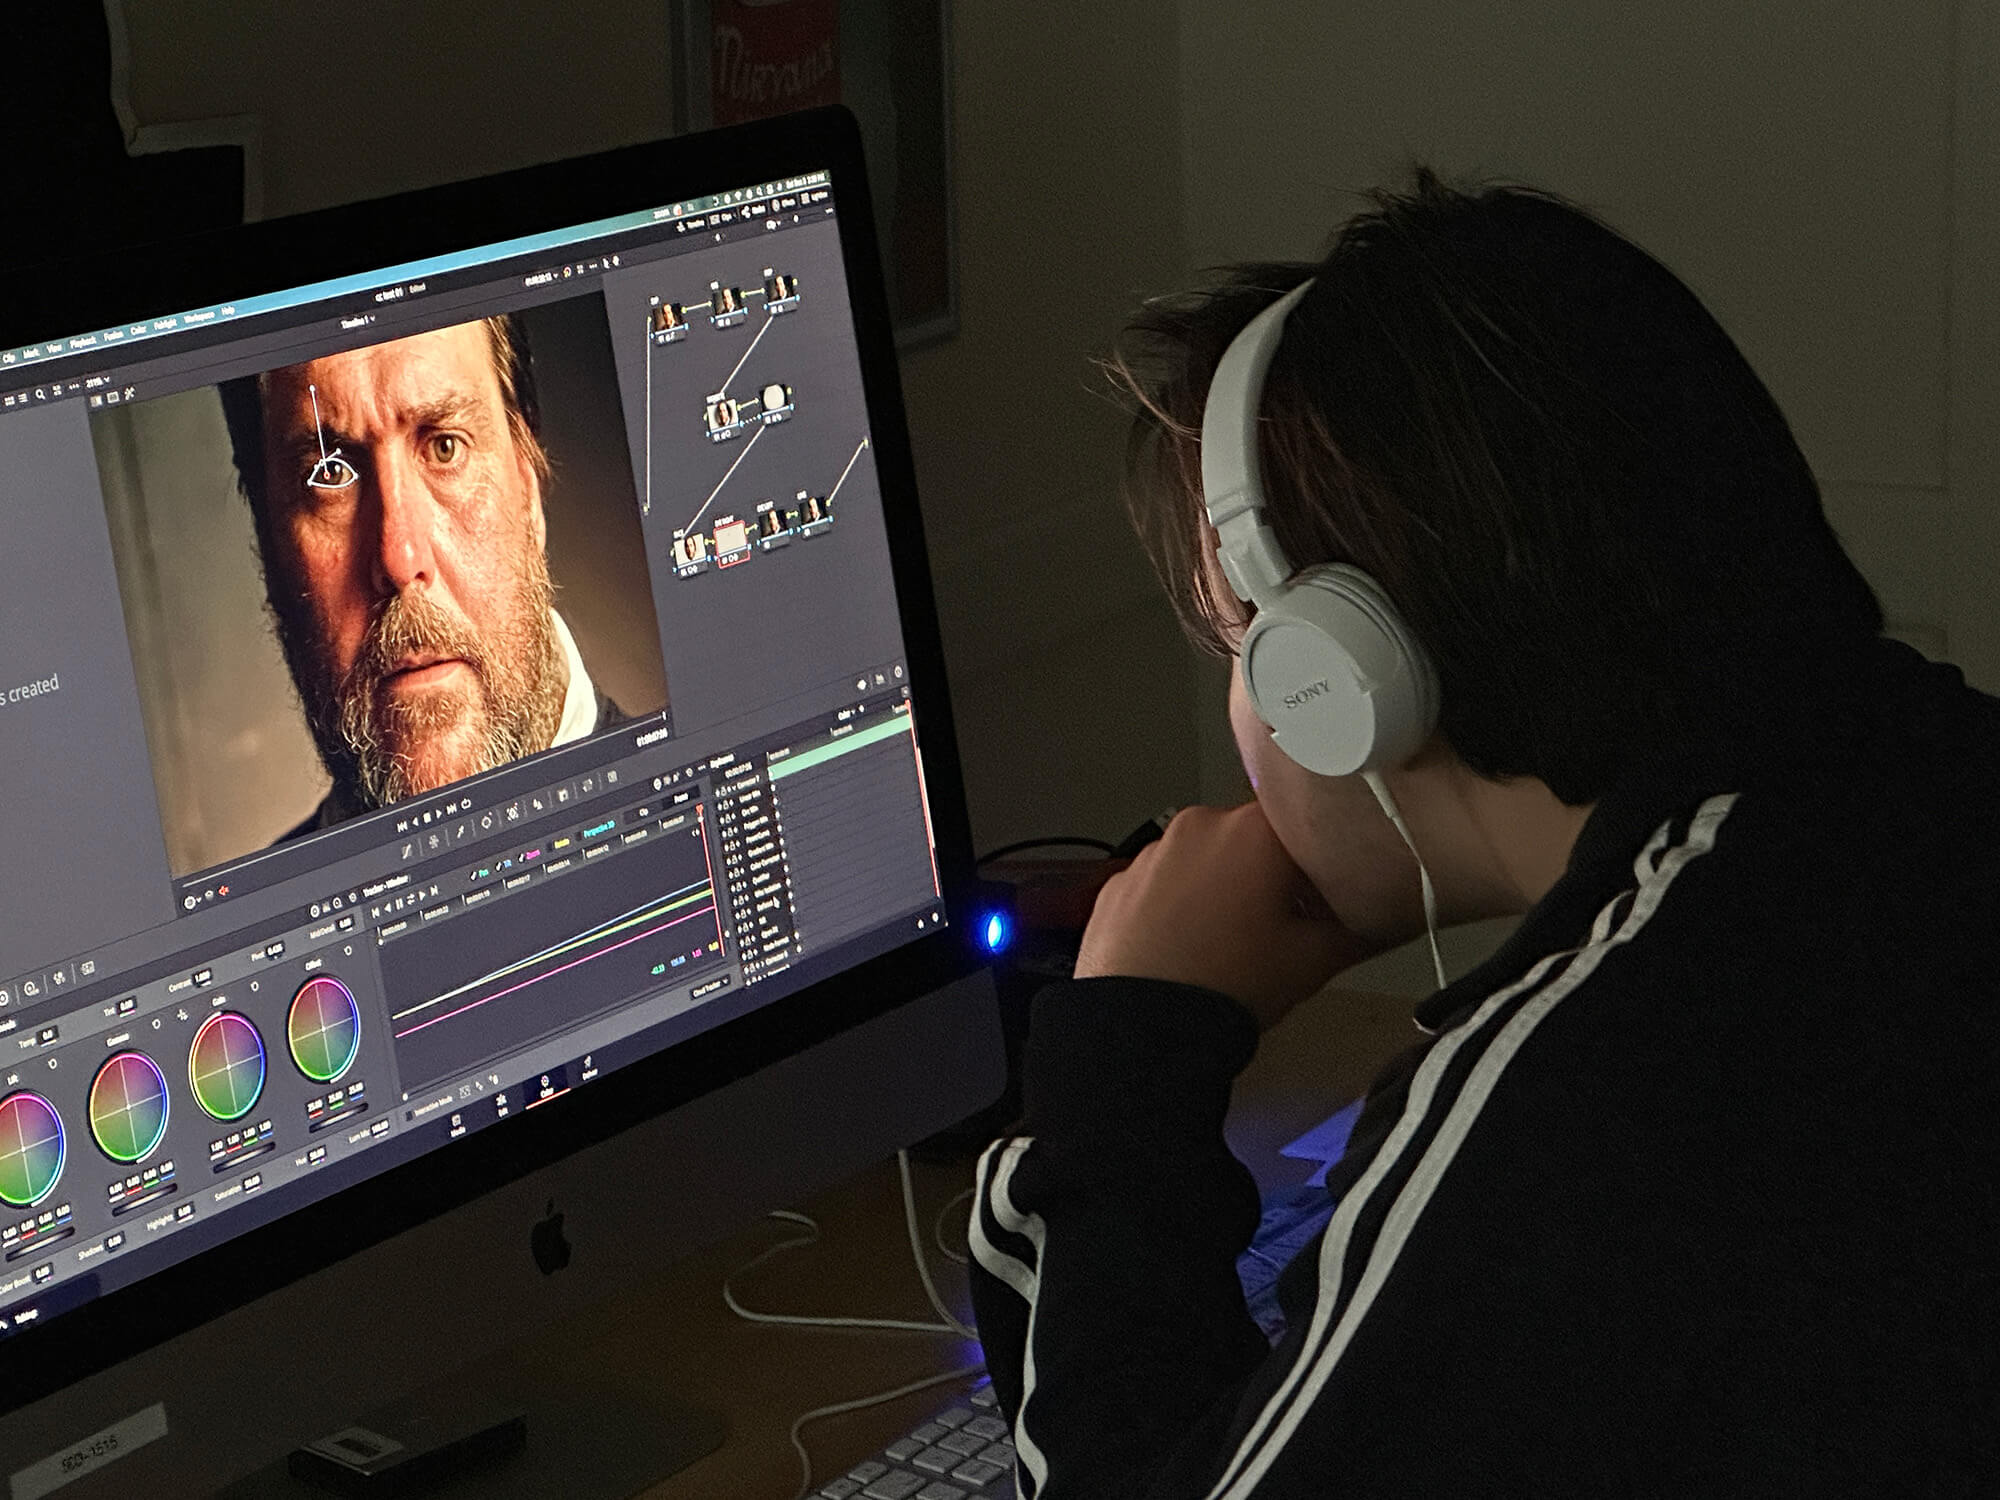
-
- Professional-grade video editing software with a free version.
- A YouTuber friend uses this for her online course videos. The color grading tools make her content look super polished.
-
- Free for Mac users and great for beginners.
- When I was just starting out, I used iMovie to edit simple talking-head videos for my first online course.

Audio Production Tools
-
- Free, open-source audio editor.
- I use Audacity to clean up audio for my podcast-style content. The noise reduction feature is a game-changer for home recordings.
-
- Free for Mac users, great for music and podcast production.
- A musician I know uses GarageBand to create background tracks for her meditation app.
-
- Professional-grade audio editing software.
- When I decided to up my game for my premium audio course, I invested in Audition for its advanced editing capabilities.


Course Creation Platforms
-
- User-friendly platform for hosting and selling online courses.
- I used Teachable for my first big online course launch. The built-in payment processing and student management features were a huge time-saver.
-
- Robust platform with good customization options.
- A colleague who runs a coding bootcamp loves Thinkific for its ability to handle complex course structures.
-
- All-in-one platform for digital products, including courses, membership sites, and more.
- When I expanded my business to include multiple product types, Kajabi’s integrated marketing tools made it easy to manage everything in one place.

E-book Creation Tools
-
- Mac-only software for creating beautiful e-books.
- A romance novelist I know swears by Vellum for formatting her self-published e-books. The results look incredibly professional.
-
- Free, open-source e-book management and creation tool.
- I use Calibre to convert my e-books into multiple formats, ensuring compatibility across different e-readers.
-
- Free, web-based book writing and formatting tool.
- A non-fiction author I mentored used Reedsy to write and format her first self-help e-book. The simplicity of the interface helped her focus on writing.


Remember, the best tool is the one you’ll actually use. Don’t get bogged down in fancy features you don’t need. Start with what you’re comfortable with and upgrade as your needs grow.
When I first started, I created a complete online course using just PowerPoint for slides, a $50 microphone, and OBS for screen recording. It wasn’t perfect, but it got the job done and allowed me to start selling. You can always improve the production quality in future versions.
Next up, we’ll dive into the actual creation process. Get ready to roll up your sleeves and bring your digital product to life!
Create Your Digital Product
Alright, let’s dive into the fun part - actually creating your digital product! This is where all your planning and research come together. I’ve been through this process countless times, and I’ll share some key strategies to make it as smooth as possible.
Set Up Your Workspace
First things first, create an environment that sparks creativity. For me, that means:
- A clean desk (I use a standing desk from Uplift to keep my energy up)
- Good lighting (I swear by my BenQ desk lamp)
- A reliable computer (I use a MacBook Pro, but any decent laptop will do)
- Noise-canceling headphones (my Sony WH-1000XM4 are a lifesaver when the neighbor’s dog won’t stop barking)
Outline Your Content
Start with a detailed outline. Break your content into manageable chunks. For my last course on email marketing, I used this structure:
- Introduction
- Building Your Email List
- Crafting Compelling Emails
- Automation Strategies
- Analytics and Optimization
- Conclusion and Next Steps
Create a Prototype
Before diving into full production, create a prototype or sample of your product. This could be:
- The first chapter of your ebook
- A sample lesson from your course
- A demo version of your software
I once spent weeks creating a full course only to realize the format didn’t work well for my audience. Now, I always create a sample module and get feedback before going all-in.
Develop Your Content
Now it’s time to create the meat of your product. Here are some tips for different types of digital products:
For Ebooks:
- Use Grammarly to catch typos and grammar issues
- Consider hiring an editor from Reedsy for a professional polish
- Use Canva to create eye-catching chapter title pages
For Online Courses:
- Script your videos to keep them concise and on-topic
- Use Camtasia for screen recordings and basic editing
- Create supplementary worksheets or checklists in Google Docs
For Software or Apps:
- Use Trello or Asana to manage your development tasks
- Consider using GitHub for version control
- Don’t forget to write clear documentation - I use Read the Docs for this
Quality Control
Always build in time for quality control. Here’s my checklist:
- Proofread everything (or use a service like Hemingway Editor for readability)
- Test all links and downloadable resources
- Get feedback from beta testers (I use UserTesting for software products)
- Ensure your product works on different devices (for courses, I test on desktop, tablet, and mobile)
Create Supporting Materials
Don’t forget about the extras that add value:
- A detailed product description
- An eye-catching cover or thumbnail (I use Photoshop, but Canva works well too)
- Testimonials from beta testers or early users
- A FAQ section to address common questions
Prepare for Launch
As you’re wrapping up creation, start preparing for launch:
- Set up your sales page (I use Leadpages for quick, professional-looking landing pages)
- Create promotional materials (social media posts, email sequences, etc.)
- Plan your launch strategy (I like using Jeff Walker’s Product Launch Formula for structured launches)
Remember, perfection is the enemy of done. It’s better to launch something good and improve it based on real user feedback than to endlessly tweak in isolation. My first Udemy course was far from perfect, but it allowed me to start helping people and generating income while I improved it over time.
Creating a digital product is a journey, and each one you make will be better than the last. Embrace the process, learn from your mistakes, and don’t be afraid to put your work out there. Your audience is waiting!
Next up, we’ll dive into setting up your sales platform to get your awesome new product in front of eager customers. Get ready to turn your hard work into cold, hard cash!
Set Up Your Sales Platform
Alright, let’s talk about setting up your sales platform. This is where the rubber meets the road - it’s time to turn your hard work into cold, hard cash! I’ve tried just about every platform out there, so I’ll break down the pros and cons of each and share some real-world experiences.
Standalone Website
First up, let’s consider hosting your digital product on your own website. This gives you maximum control and flexibility.
Pros:
- Complete control over design and user experience
- No revenue sharing with third-party platforms
- Build your own brand and audience
Cons:
- Requires more technical know-how
- You’re responsible for all marketing and traffic generation
I used this approach for my first big course launch. I built a site using WordPress and WooCommerce for payments. It was a lot of work upfront, but it paid off in the long run.
Gumroad
Gumroad is a popular choice for digital creators, especially those just starting out.
Pros:
- Super easy to set up
- Handles payments and file delivery
- Great for selling multiple types of digital products
Cons:
- Limited customization options
- Fees can add up as you scale
I use Gumroad for selling my smaller products, like e-books and templates. The simplicity is a huge time-saver.
Teachable
If you’re creating online courses, Teachable is worth considering.
Pros:
- Built specifically for online courses
- Handles everything from hosting to payments
- Great student management features
Cons:
- Monthly fees can be high for beginners
- Limited control over site design
I used Teachable for my SEO fundamentals course. The built-in features for quizzes and certificates were a huge hit with students.
Etsy
Don’t overlook Etsy for digital products, especially if you’re in a creative niche.
Pros:
- Built-in audience of buyers
- Great for digital downloads like printables or design templates
- Easy to set up and manage
Cons:
- Lots of competition
- Fees can eat into profits
A graphic designer friend of mine makes a killing selling Adobe Illustrator templates on Etsy. She says the key is creating unique, niche-specific designs.
Shopify
Shopify is known for physical products, but it’s great for digital goods too.
Pros:
- Robust e-commerce features
- Lots of apps and integrations available
- Scalable as your business grows
Cons:
- Can be overkill for simple digital products
- Monthly fees plus transaction fees
I helped a client set up a Shopify store for her digital planners. The ability to easily create product variations (like different color schemes) was a game-changer for her business.
Payment Gateways
No matter which platform you choose, you’ll need a way to accept payments. Here are the big players:
-
- Widely recognized and trusted
- Available in many countries
- Higher fees for international transactions
-
- Developer-friendly
- Lower fees than PayPal in some cases
- Great for recurring payments
-
- Good for businesses that sell both online and in-person
- User-friendly interface
- Competitive rates

I personally use a combination of Stripe and PayPal. Stripe handles most of my transactions, but I keep PayPal as an option because some customers prefer it, especially internationally.
Delivery Methods
Once someone buys your product, how will they get it? Here are some options:
Amazon S3 for file hosting
- Reliable and scalable
- Can handle large files
- Pay only for what you use
Google Drive for smaller products
- Free up to a certain storage limit
- Easy to use and share
Dropbox for team collaboration
- Great for updating and managing files
- Easy sharing options
For my larger video courses, I use Amazon S3 to host the files and a WordPress membership plugin to manage access. For smaller products like e-books, I often use Google Drive links that are automatically sent out after purchase.
Final Tips
Test, test, test! Before you launch, go through the buying process yourself multiple times. Nothing kills sales faster than a broken checkout process.
Mobile optimization is crucial. A lot of impulse buys happen on mobile devices. Make sure your sales page and checkout process work smoothly on smartphones.
Offer multiple payment options. The more ways people can pay, the more likely they are to follow through with a purchase.
Set up analytics. Use tools like Google Analytics to track your sales funnel and see where people might be dropping off.
Consider a launch strategy. Building buzz before you open cart can lead to a flood of sales on day one. I once used an email sequence and Instagram stories to create anticipation for a course launch, and it resulted in my biggest sales day ever.
Remember, setting up your sales platform is an iterative process. Start with something simple and improve as you go. The most important thing is to get your product out there and start making sales. You can always optimize later!
Next up, we’ll talk about launching and marketing your digital product. Get ready to shout your creation from the rooftops!
Launch and Market Your Product
Alright, it’s showtime! You’ve poured your heart and soul into creating an awesome digital product. Now, let’s get it out there and start raking in those sales. I’ll share some strategies that have worked wonders for me and my clients over the years.
Pre-Launch Buzz
Before you hit that “publish” button, build some anticipation:
Email List Teasers
- I always start dropping hints about my new product to my email list at least a month before launch. For my last course on content marketing, I shared behind-the-scenes snapshots and even a free sample lesson. The response was incredible!
Social Media Countdown
- Create a buzz on your social platforms. I use Canva to design eye-catching countdown graphics. When I launched my e-book on productivity hacks, I shared a new tip each day leading up to the launch. People were chomping at the bit by launch day!
-
- Recruit a small group of beta testers. Their feedback is gold, and they often become your biggest cheerleaders. For my SEO course, I gave 10 people early access. Their testimonials were key in my launch marketing.

Pricing Strategy
Deciding on a price can be tricky. Here’s what’s worked for me:
-
- Offer different levels of access or features. For my digital marketing course, I have:
- Basic: Course content only ($197)
- Pro: Course + weekly group coaching calls ($397)
- VIP: Everything + 1-on-1 consulting ($997)
- Offer different levels of access or features. For my digital marketing course, I have:
-
- Offer an “early bird” discount to reward your first customers. I usually do 30% off for the first 48 hours. It creates urgency and gives sales a boost right out of the gate.
-
- Show the “regular” price crossed out next to your launch price. It makes people feel like they’re getting a deal.

Launch Day Strategies
When the big day arrives, hit the ground running:
-
- Send a series of emails on launch day. I typically do:
- Morning: Announcement that we’re live
- Afternoon: Testimonials and FAQs
- Evening: Reminder about the launch discount ending soon
- Send a series of emails on launch day. I typically do:
-
- Host a live online event to showcase your product. I use Zoom for this. For my last launch, I did a “5 Tips for Skyrocketing Your SEO” webinar with a pitch for my course at the end. It converted like crazy!

Ongoing Marketing
The work doesn’t stop after launch day. Keep the momentum going:
-
- Create blog posts, videos, or podcasts that complement your product. I write a weekly blog post that always ties back to my course in some way.
-
- Set up an affiliate program to incentivize others to promote your product. I use ThriveCart to manage my affiliates. My top affiliate for my e-book launch was a blogger friend who made over $3000 in commissions!
-
- Use Facebook Pixel or Google Ads to retarget people who’ve shown interest but haven’t purchased yet. I typically see a 3x return on ad spend with retargeting.
-
- Set up an automated email sequence for new subscribers. I use ConvertKit for this. My 7-day sequence for my productivity e-book has a 12% conversion rate!

Remember, launching and marketing is an ongoing process. Don’t get discouraged if you don’t see immediate results. My first product launch was a bit of a flop, but each one after that got better as I learned and refined my approach.
Keep testing different strategies, listen to your audience’s feedback, and most importantly, believe in the value of what you’re offering. You’ve created something awesome - now it’s time to share it with the world!